
I've been meaning to share this hack for awhile and I'm so happy to finally put it out into the world! This hack is such a fun and easy hack for the Photinia and you can use it for the top or dress view.

This Hack Post is split into two sections for the open front and the binding,
CREATING THE OPEN FRONT
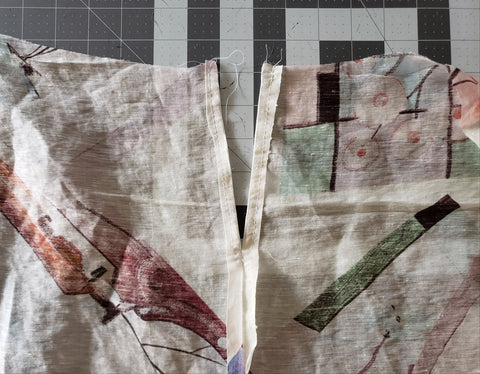
1. Place and cut your top/dress FRONT on the selvage rather than the fold. Cut the back on the fold as normal.

2. Mark 5 1/2 inches down from the top, or desired height. Sew using 1/2" seam allowance

3. Press the selvage egde open and create a squared off "v" for your neck opening

CREATING THE BINDING FOR THE OPEN FRONT
4. Cut two binding bias pieces 2.5 inches wide and connect them together. An I depth tutorial for the next part is found on the button hack blog post, but basically with the wrong side up fold back one edge of the bias binding piece by 1/2". Then fold the bias binding wrong sides together with the unfolded edge extending about 1/2".

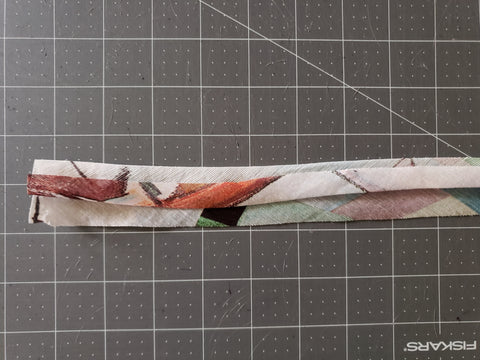
5. Sew the binding closed by sewing perpendicular to the binding using a 1/2" seam allowance. Then turn the binding right side out. It should look like this.

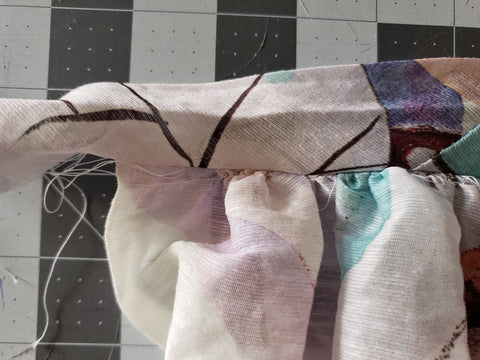
6. Find the center of the binding piece and attach it to the center back of the top/dress. Fold the remaining binding over and pin in place folding the extended tie pieces naturally to

ALL DONE!
